Elementor offers web creators a wide range of elements, allowing them enormous flexibility in web design. However, some creators may prefer to reduce the number of elements available in the Editor in order to speed up load times and reduce clutter.
Disable Elementor elements
- Go to WP Admin.

- Open Elementor>Element Manager.
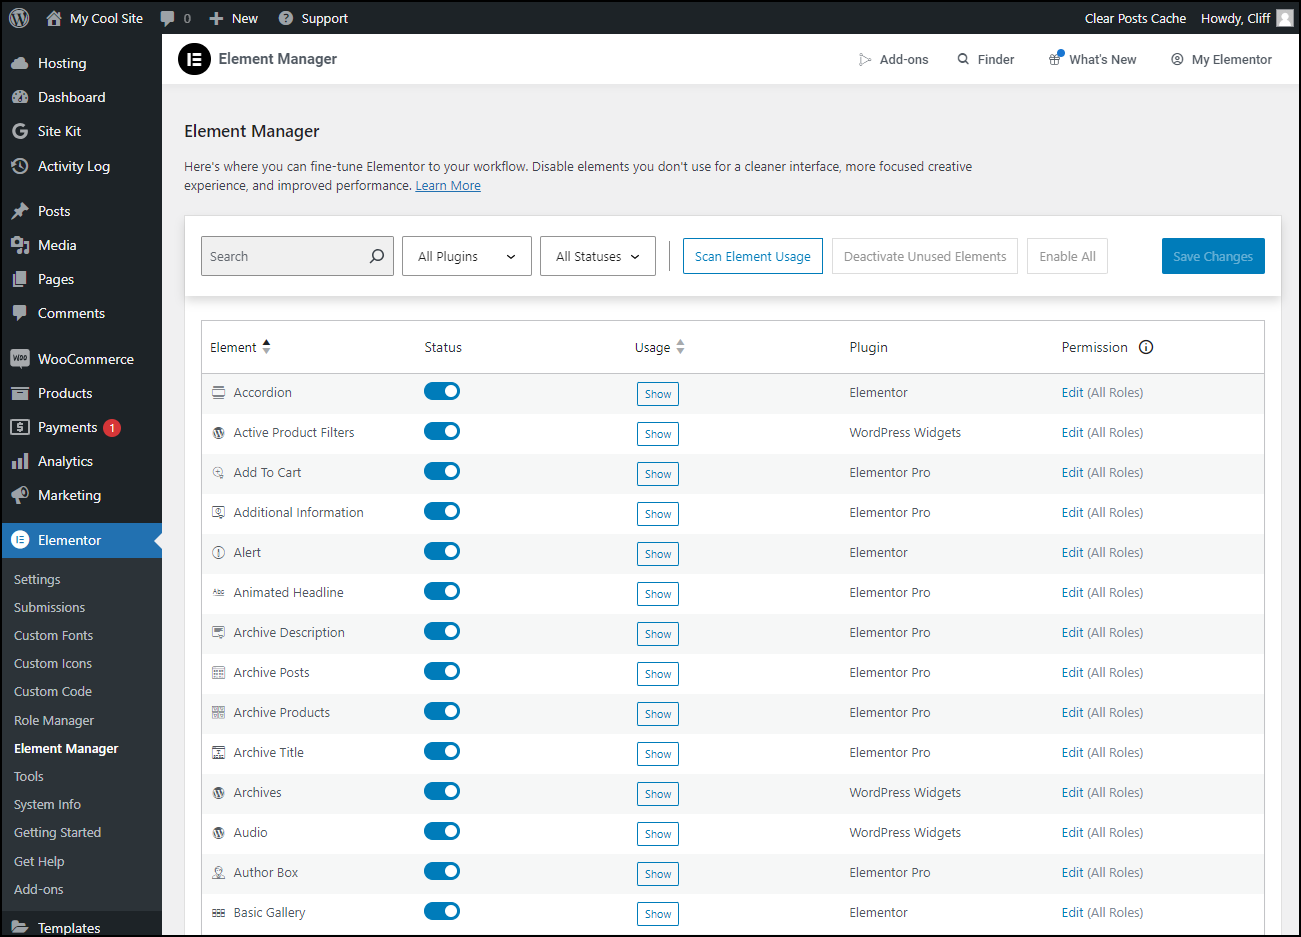
A list of elements appears.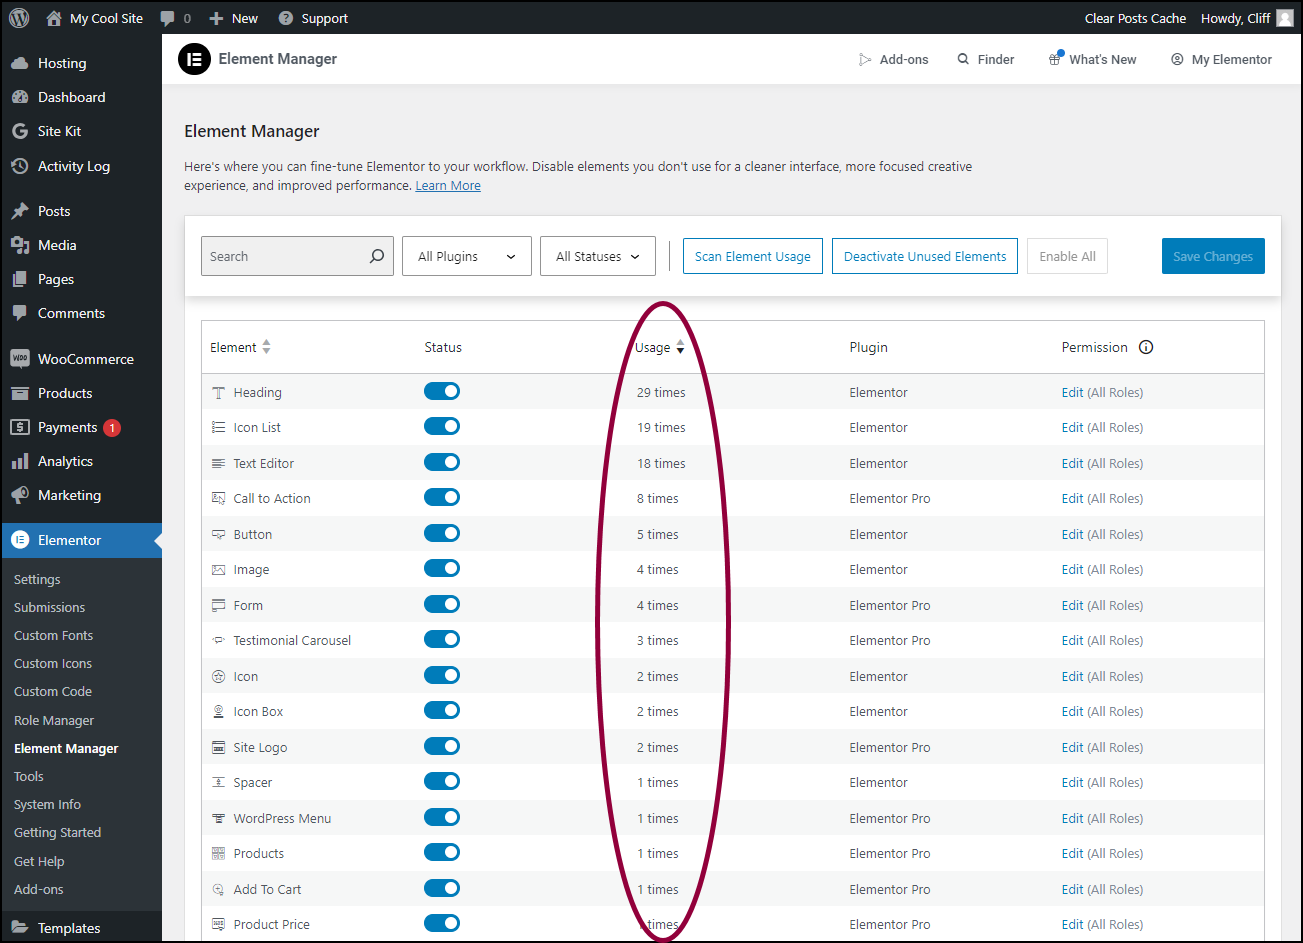
- (Recommended) Click one of the Show buttons to see which elements are used on your site and how many times they are being used.
- Toggle elements off and they will not appear in Editor. warningWarningIf you disable elements that you used to build the site, they will no longer work and could even break your site.
For more details about determining which elements to disable, see Filter the elements below.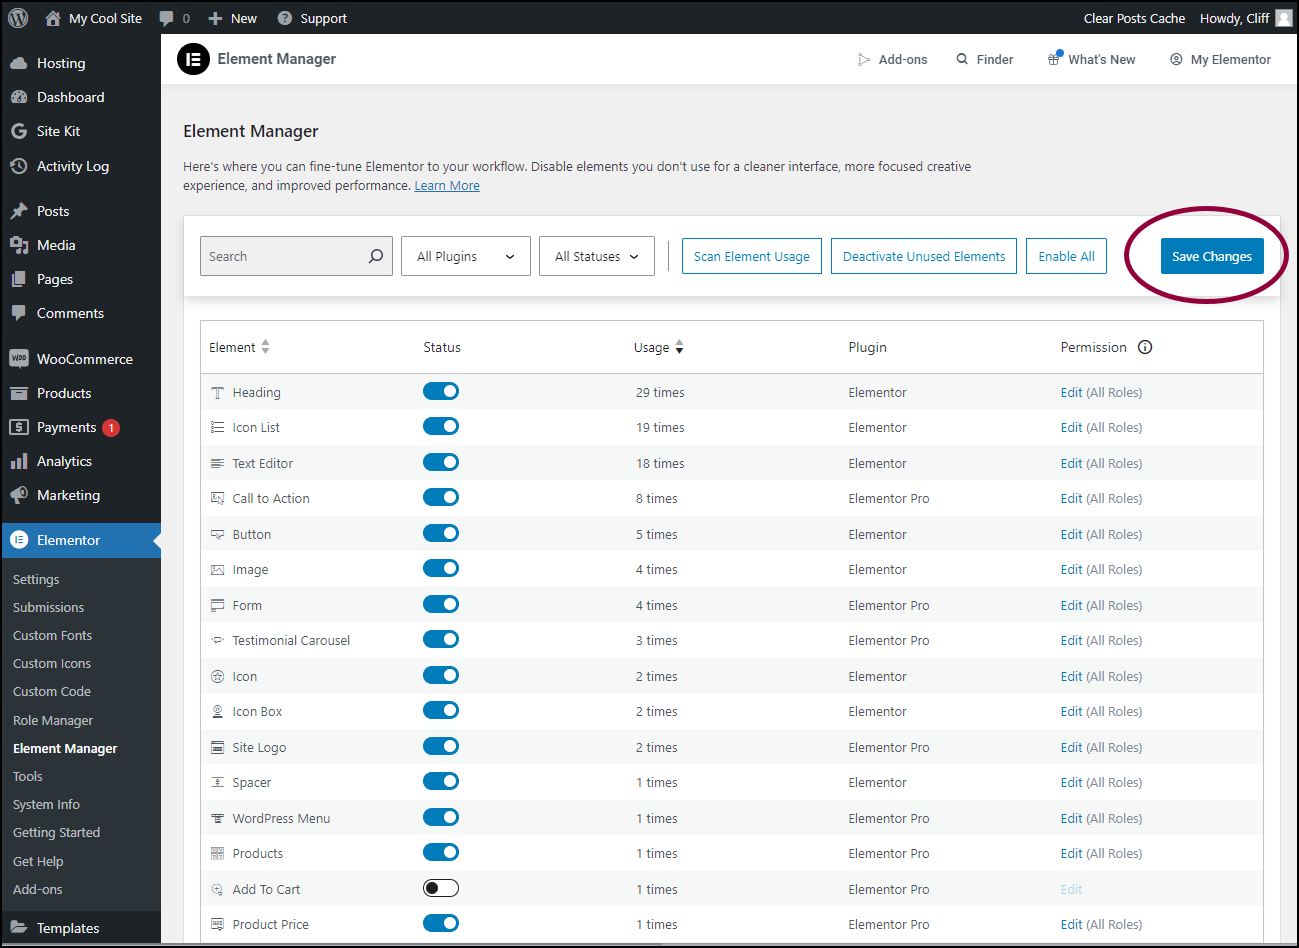
- Click Save Changes.
Disable all unused elements
To disable all unused elements: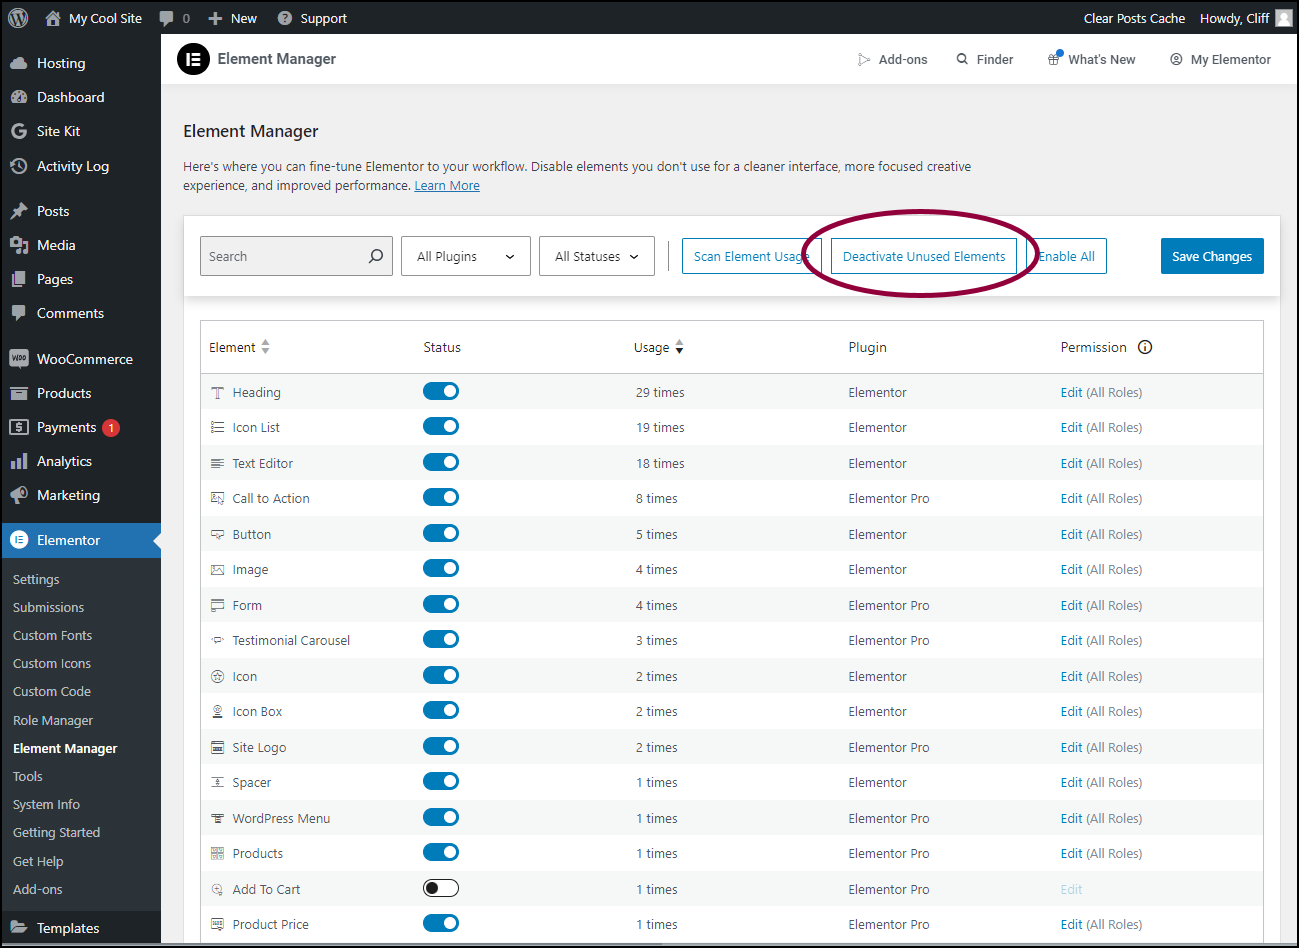
- Click Deactivate Unused Elements.
Warning
Clicking Deactivate Unused Elements will deactivate ALL unused elements. Even if you have filtered the list of elements, the deactivation will apply to all elements, even if they are not part of your filtered list.
Activate all elements
If you decide not to disable any elements, you can enable all elements with one click.
To enable all elements: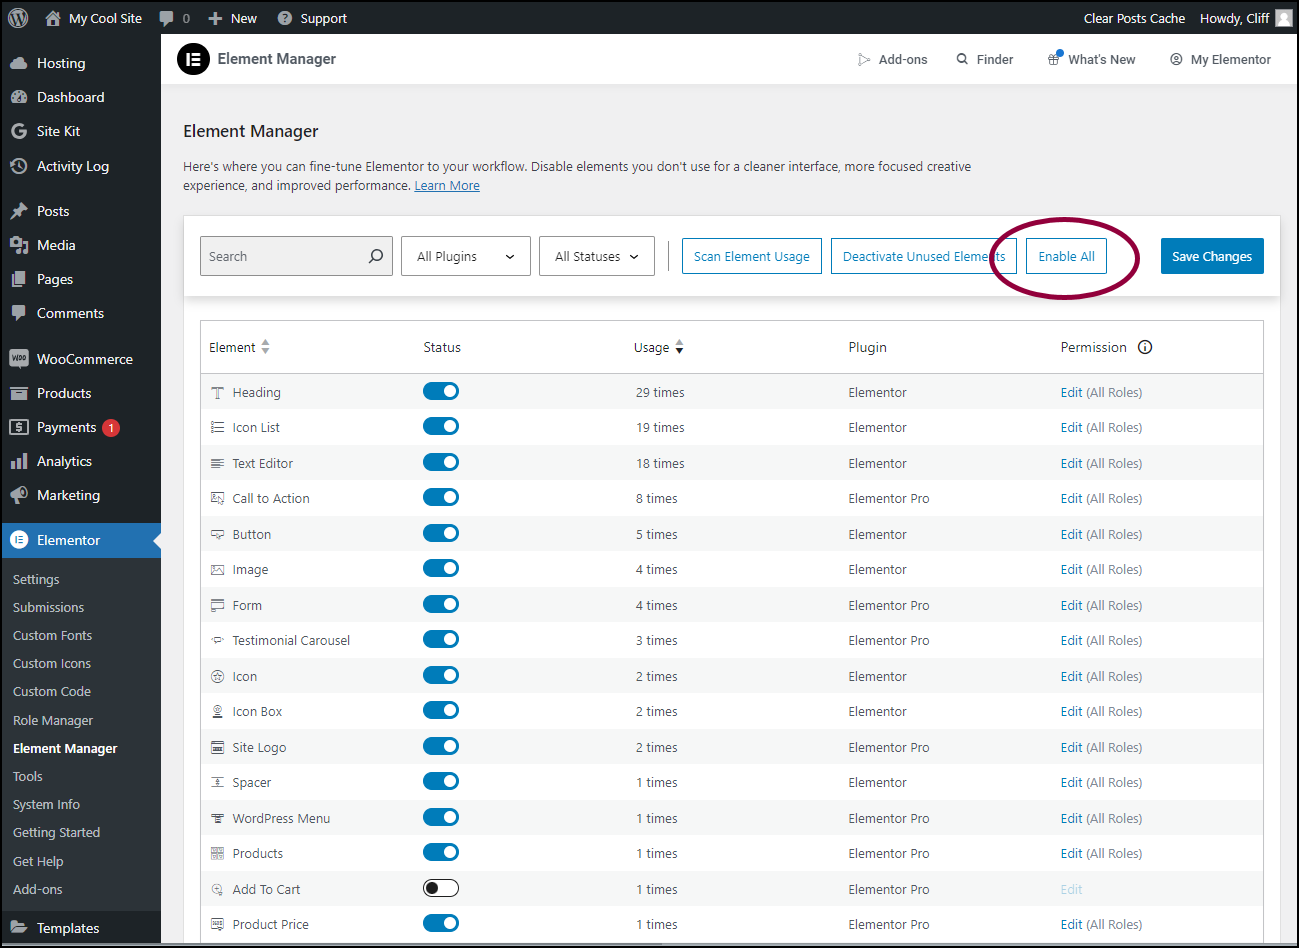
- Click Enable All.
Searching elements
Before disabling elements you will probably want to figure out what elements you want to disable. Element Manager lets you filter the elements and isolate those you are not using on your site.
Search individual elements
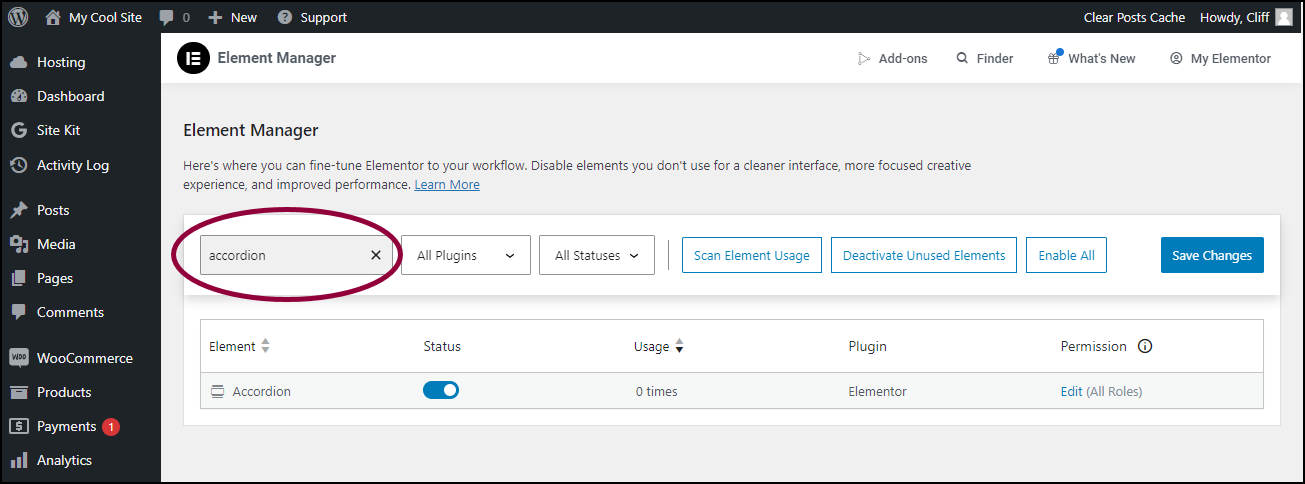
- Look for an individual element by entering its name in the search box.
Filter elements
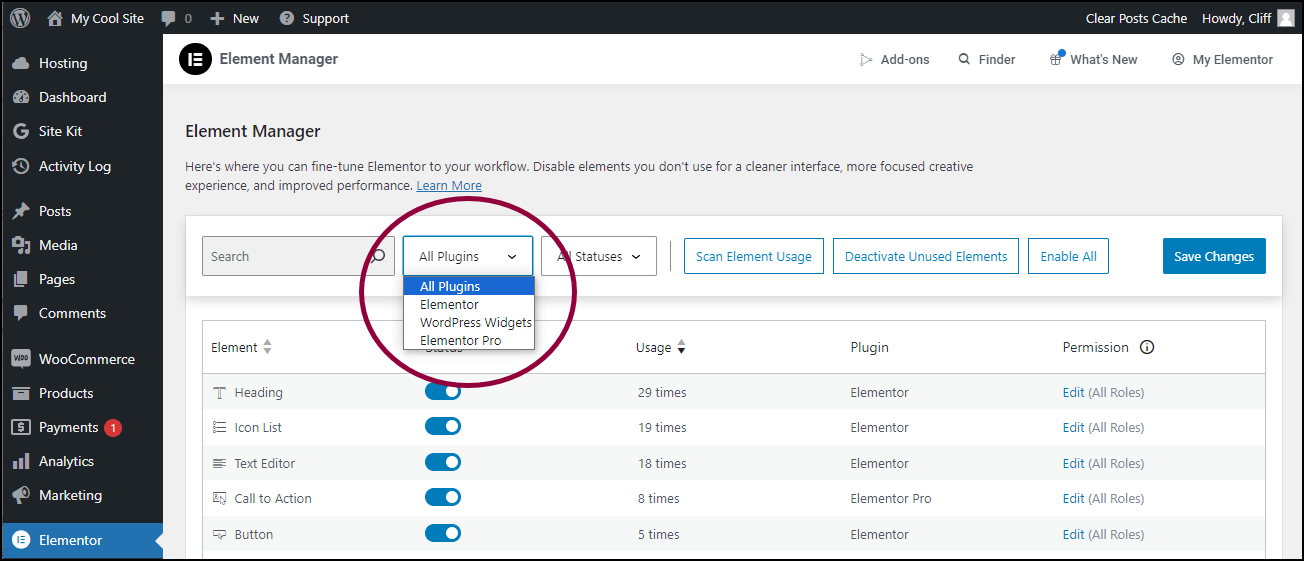
- Use the dropdown menu to filter the elements. You can filter by:
- All Plugins
- Elementor (elements)
- WordPress widgets
- Elementor Pro (elements)
Scan element usage
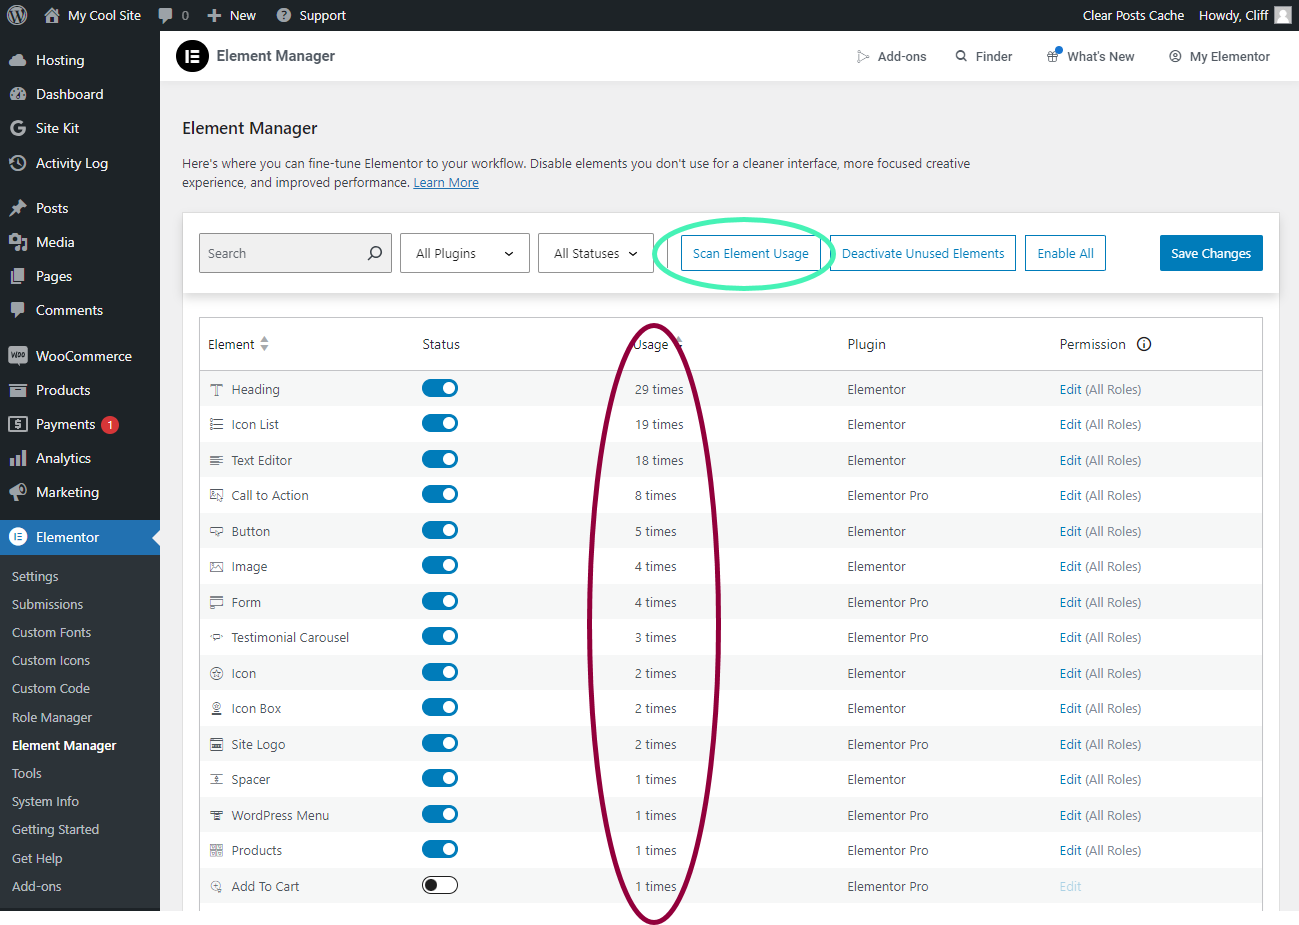
Isolate unused elements by clicking Scan element usage. The Usage column will show how many times each element is used on the site.